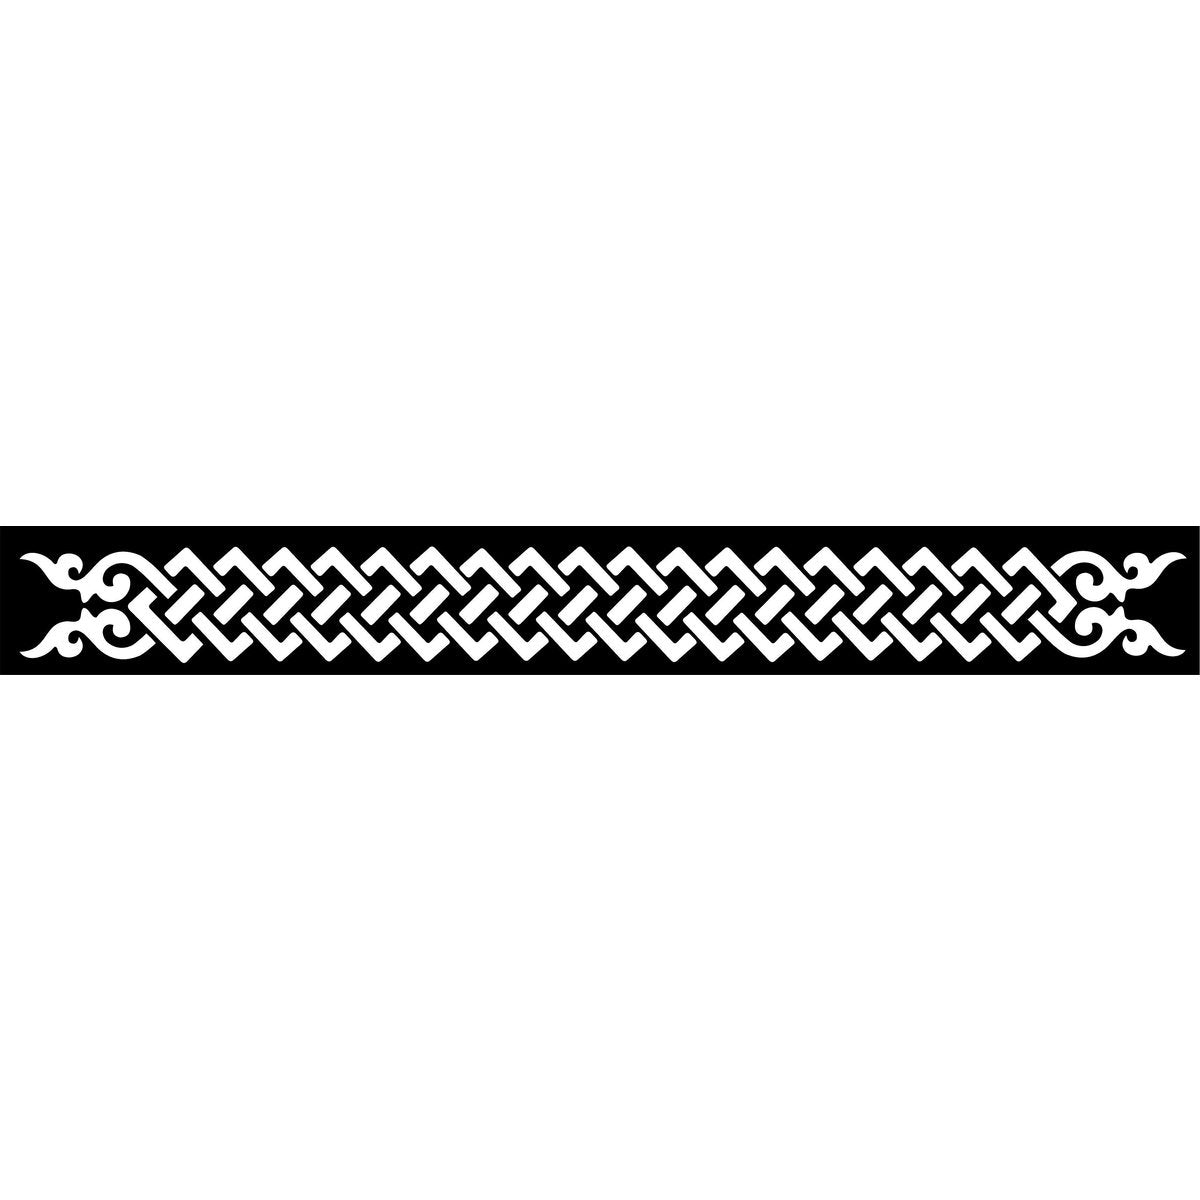
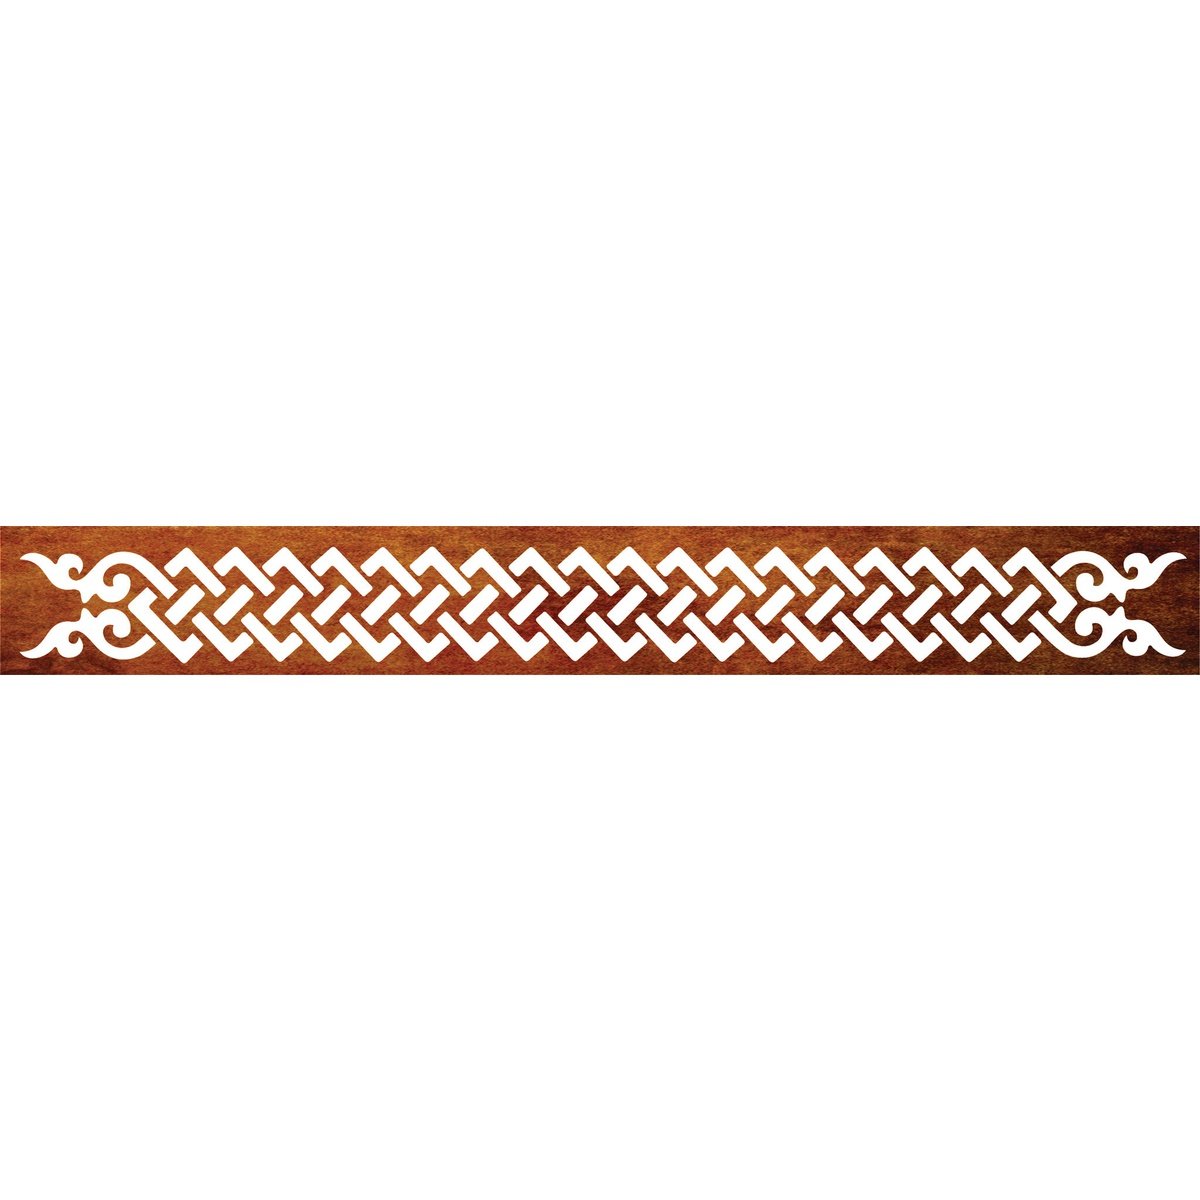
Laser Cut Fence Runner Range - Celtic

Price
$469
Color:
Size:

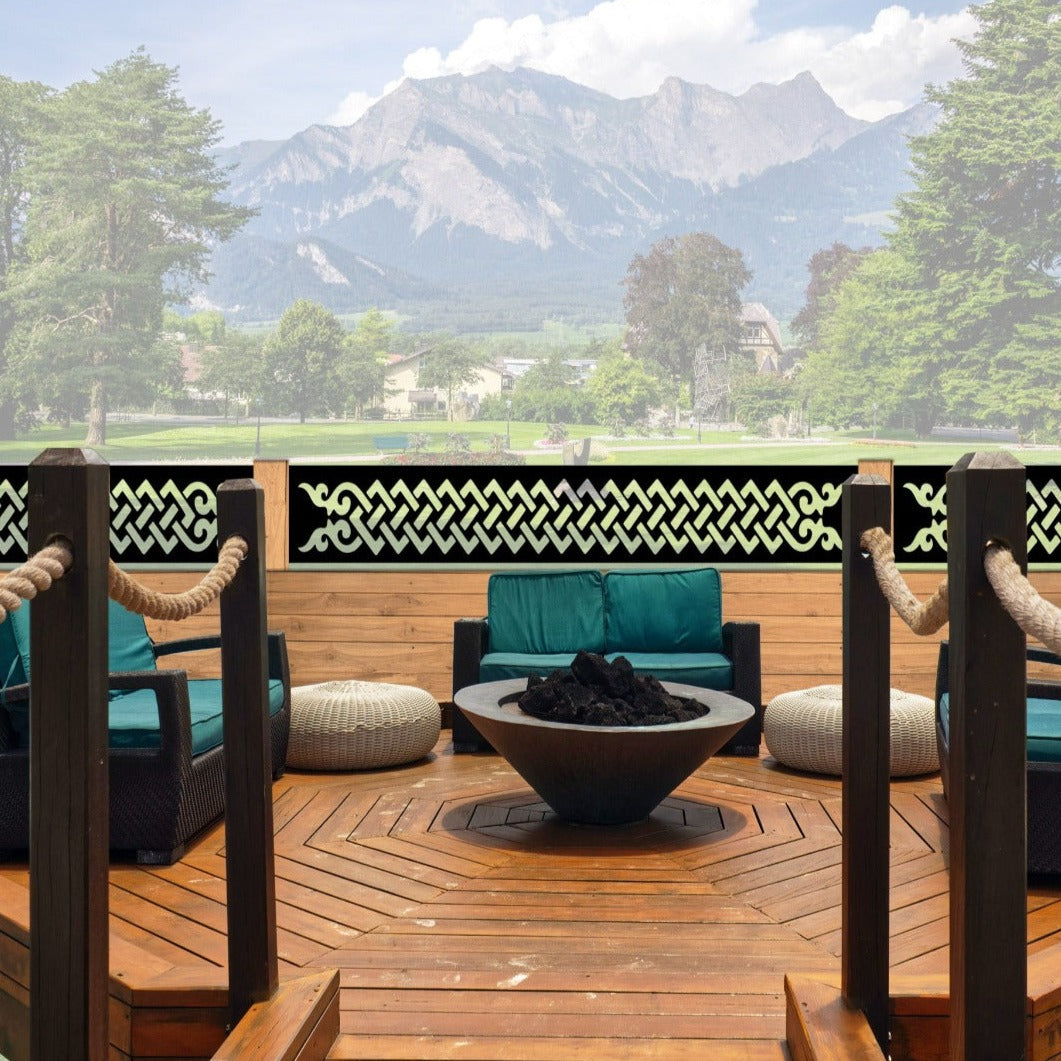
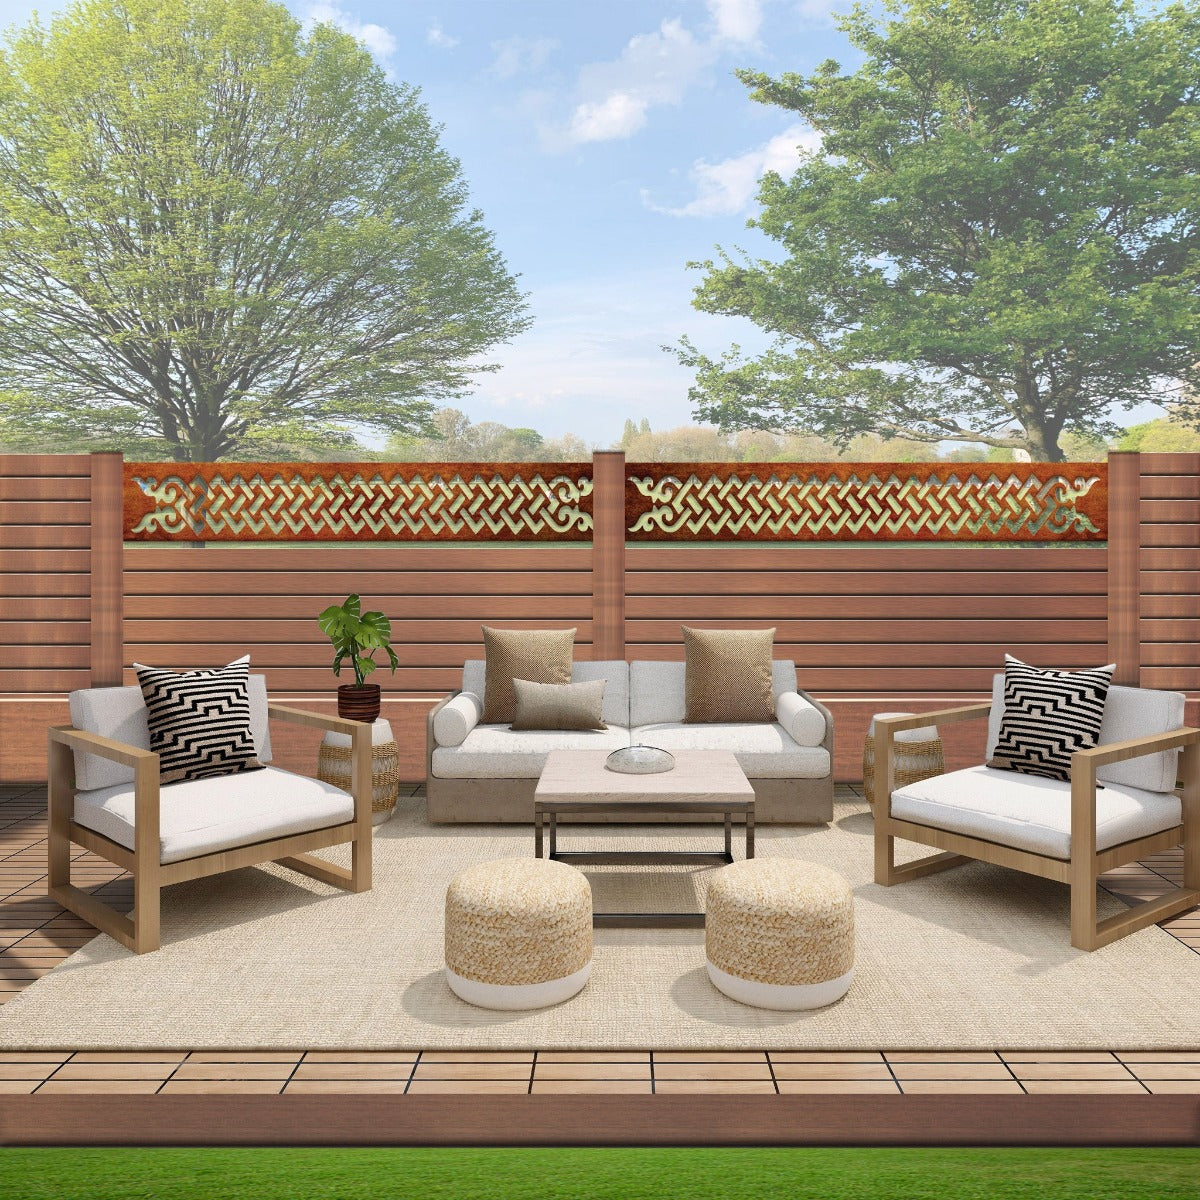
"Fence Runner Range" of panels, a versatile solution designed to elevate the aesthetics of your outdoor space. These panels are designed to serve as captivating infills within an otherwise ordinary fence, instantly transforming it into a visually striking feature.

These panels are equally adept at enhancing existing fences, offering the flexibility to raise their height for added privacy and style. Moreover, the "Fence Runner Range" panels can double as captivating decorative elements, gracing your walls and patios with their unique laser cut designs. 

Versatile Sizing: Designed to seamlessly fit into most standard fence requirements, these panels stand at a width of 360mm.

Material Powdercoated panels are made from 3.00 mm aluminium, corten products are made of 3.00 mm corten steel. ( Corten Steel Products are supplied raw and develop the patina in time.)

Affordable Luxury: We offer these panels in a standard 3mm thick sheet, striking the perfect balance between high-end aesthetics and budget-friendly pricing.

Durable & Sustainable Materials: Available in both Aluminum and Corten Steel, our panels are built to last for decades.

How to Install Wall Art

Screws and Spacers for Pieces with Mounting Holes – Hard Wall

Step 1:Position on your wall where you would like the wall art to go.
Step 2:Mark the position of the mounting holes on the wall.
Step 3:Pre-drill into your mounting surface.
Step 4:Line the spacer up behind the wall art and drive suitable screws through the mounting holes.
Step 5:Tighten all screws till the wall art is secure.
Step 6:Enjoy your new wall hanging.

Screws and Spacers for Pieces with Mounting Holes – Plasterboard (Standard Interior Wall)

Step 1:Position on your wall where you would like the wall art to go.
Step 2:Mark the position of the mounting holes on the wall.
Step 3:If the piece is lighter than 4kg or if you have located a stud then skip step 4 and pre-drill holes instead.
Step 4:Install drywall anchors as per manufacturer instructions.
Step 5:Line the spacer up behind the wall art and drive suitable screws through the mounting holes.
Step 6:Tighten all screws till the wall art is secure.
Step 7:Enjoy your new wall hanging.

Flush Mount Screws for Pieces with Mounting Holes – Hard Wall

Step 1:Position on your wall where you would like the wall art to go.
Step 2:Mark the position of the mounting holes on the wall.
Step 3:Pre-drill into your mounting surface.
Step 4:Drive suitable screws through the mounting holes.
Step 5:Tighten all screws till the wall art is secure.
Step 6:Enjoy your new wall hanging.

Flush Mount Screws for Pieces with Mounting Holes – Plasterboard (Standard Interior Wall)

Step 1:Position on your wall where you would like the wall art to go.
Step 2:Mark the position of the mounting holes on the wall.
Step 3:If the piece is lighter than 4kg or if you have located a stud then skip step 4 and pre-drill holes instead.
Step 4:Install drywall anchors as per manufacturer instructions.
Step 5:Drive suitable screws through the mounting holes.
Step 6:Tighten all screws till the wall art is secure.
Step 7:Enjoy your new wall hanging.

Double Sided Tape, Command Strips or Hook and Loop Fasteners

Step 1:Clean the wall that you wish to mount the piece to, ensuring it is free of dust, grime, and debris.
Step 2:Place strips of your chosen adhesive product onto parts on the wall art where it will not be seen.
Step 3:Peel the backing and press firmly onto the surface for the manufacturers recommended time.

Other Installation Options

Get in touch with us to see if our wall art is suitable for your location

03 2616 023 or sales@designjunction.co.nz

Contact Us Below
or Call 03 2616 023


Design Junction Showroom

163 Wordsworth Street, Sydenham, Christchurch, 8023

AFTER SOMETHING CUSTOM?

Get in-touch with our friendly team and we can assist you in designing and manufacturing your metal dreams.

You may also like