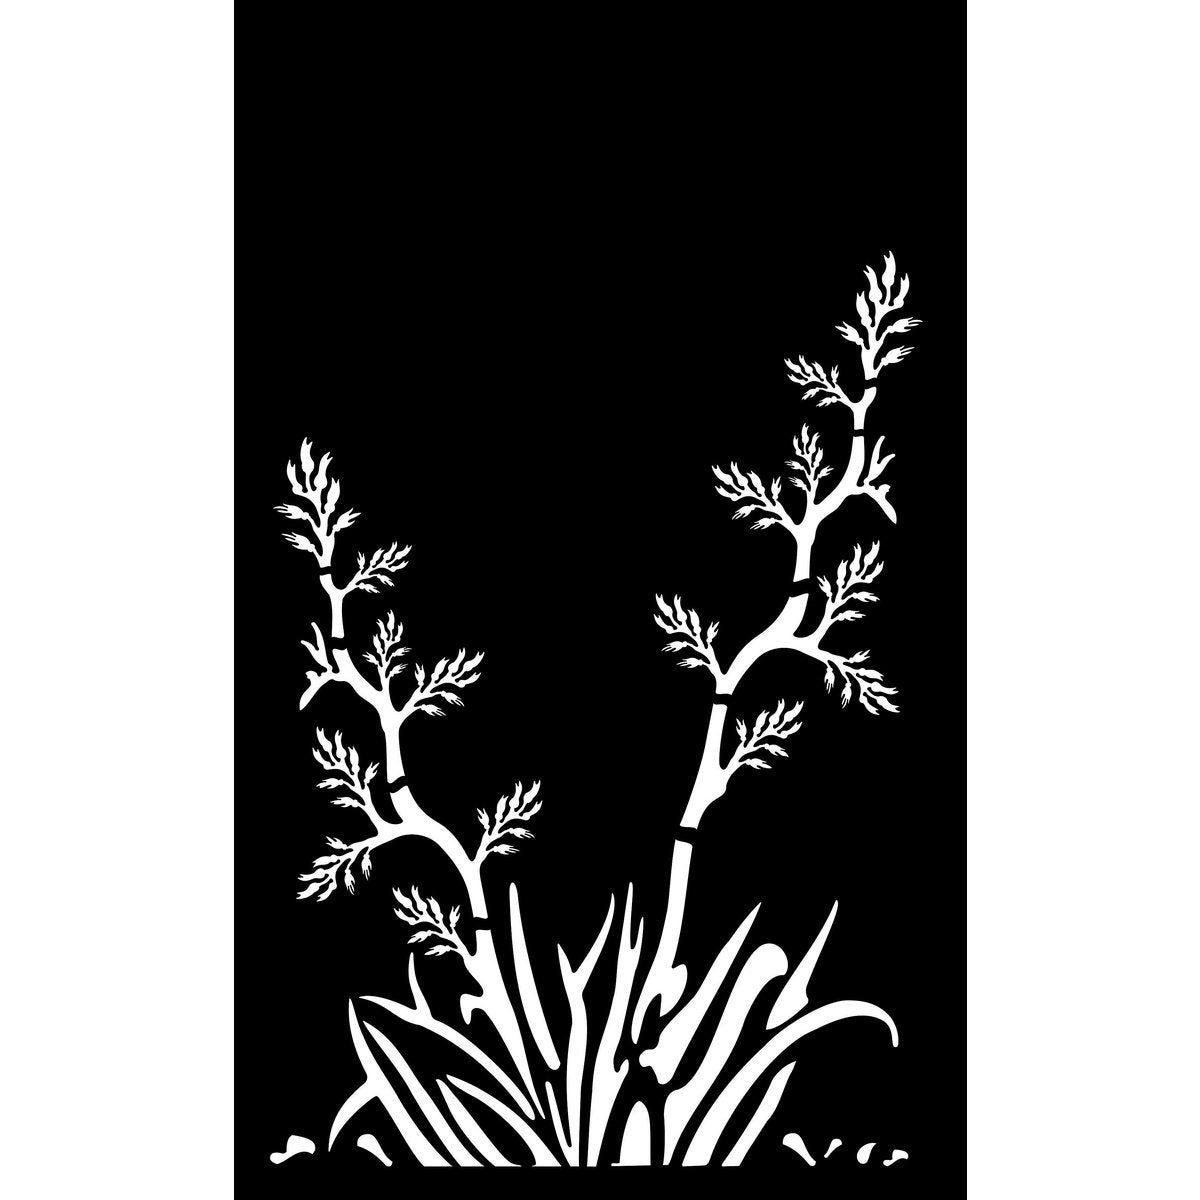
Laser Cut Decorative Panel - Flex Pod Plant Panel

Price
$469
Color:
Size:
Material:

Design Junction artwork to make your walls stand out.

These precision laser cut wall art designs would be an attractive addition to your home. All DJ wall art is designed and manufactured in Christchurch. New Zealand.

All powder coated pieces are a sturdy 1.6mm or 3mm steel and can be mounted with a nail, hook, magnet or bracket. You can also use screws or removable Velcro strips for installation.

Also available in MDF, Mild Steel, Acrylic and Stainless Steel. 

Contact Us for custom designs, size, material and finish options.


How to Install Wall Art

Screws and Spacers for Pieces with Mounting Holes – Hard Wall

Step 1:Position on your wall where you would like the wall art to go.
Step 2:Mark the position of the mounting holes on the wall.
Step 3:Pre-drill into your mounting surface.
Step 4:Line the spacer up behind the wall art and drive suitable screws through the mounting holes.
Step 5:Tighten all screws till the wall art is secure.
Step 6:Enjoy your new wall hanging.

Screws and Spacers for Pieces with Mounting Holes – Plasterboard (Standard Interior Wall)

Step 1:Position on your wall where you would like the wall art to go.
Step 2:Mark the position of the mounting holes on the wall.
Step 3:If the piece is lighter than 4kg or if you have located a stud then skip step 4 and pre-drill holes instead.
Step 4:Install drywall anchors as per manufacturer instructions.
Step 5:Line the spacer up behind the wall art and drive suitable screws through the mounting holes.
Step 6:Tighten all screws till the wall art is secure.
Step 7:Enjoy your new wall hanging.

Flush Mount Screws for Pieces with Mounting Holes – Hard Wall

Step 1:Position on your wall where you would like the wall art to go.
Step 2:Mark the position of the mounting holes on the wall.
Step 3:Pre-drill into your mounting surface.
Step 4:Drive suitable screws through the mounting holes.
Step 5:Tighten all screws till the wall art is secure.
Step 6:Enjoy your new wall hanging.

Flush Mount Screws for Pieces with Mounting Holes – Plasterboard (Standard Interior Wall)

Step 1:Position on your wall where you would like the wall art to go.
Step 2:Mark the position of the mounting holes on the wall.
Step 3:If the piece is lighter than 4kg or if you have located a stud then skip step 4 and pre-drill holes instead.
Step 4:Install drywall anchors as per manufacturer instructions.
Step 5:Drive suitable screws through the mounting holes.
Step 6:Tighten all screws till the wall art is secure.
Step 7:Enjoy your new wall hanging.

Double Sided Tape, Command Strips or Hook and Loop Fasteners

Step 1:Clean the wall that you wish to mount the piece to, ensuring it is free of dust, grime, and debris.
Step 2:Place strips of your chosen adhesive product onto parts on the wall art where it will not be seen.
Step 3:Peel the backing and press firmly onto the surface for the manufacturers recommended time.

Other Installation Options

Get in touch with us to see if our wall art is suitable for your location

03 2616 023 or sales@designjunction.co.nz

Contact Us Below
or Call 03 2616 023


Design Junction Showroom

163 Wordsworth Street, Sydenham, Christchurch, 8023

AFTER SOMETHING CUSTOM?

Get in-touch with our friendly team and we can assist you in designing and manufacturing your metal dreams.

You may also like